 11 November 2025
8 Common Mistakes Farmers Make During Soil Sampling (and How to Avoid Them)
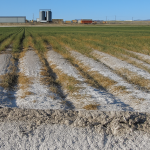
🌾 Why Soil Sampling Mistakes Cost Farmers More Than They Realize
Soil testing is the backbone of scientific farming. But did you know that nearly 60% of inaccurate soil test results come from wrong sampling techniques—not from lab errors?
When farmers collect soil without proper depth, timing, or procedure, the lab report fails to represent the field’s true fertility. The result:
- Overuse or underuse of fertilizers
- Wasted money and lower yields
- Long-term soil imbalance
At Soil Doctor, we’ve trained thousands of farmers and soil didis across India, and one thing is clear — correct sampling decides the accuracy of your soil test.
Let’s look at the 8 most common mistakes farmers make during soil sampling, why they matter, and how to fix them effectively.
1️⃣ Sampling From Only One Spot
Many farmers take soil from a single area or near the field entrance.
That’s like judging an entire farm by one handful of soil.
🚫 Why It’s Wrong
Soil properties vary across even a small plot — fertility, pH, and moisture can differ from one corner to another. A single-spot sample won’t reflect this variation.
✅ How to Avoid It
- Walk across the field in a zigzag (W-shaped) path.
- Collect 6–8 sub-samples from random spots across one plot.
- Mix them thoroughly in a clean bucket to form a composite sample (~200 g).
Pro Tip: Divide large or variable fields into smaller uniform zones based on soil color and cropping pattern.
2️⃣ Taking Samples Right After Fertilizer or Manure Application
Many farmers test their soil immediately after applying fertilizers, thinking they’ll know “what’s left.” Unfortunately, this gives a false picture.
🚫 Why It’s Wrong
Fresh fertilizer or manure spikes nutrient levels, especially nitrogen and phosphorus, leading to artificially high readings. The test will show your soil is fertile—even when it may not be.
✅ How to Avoid It
- Take samples before fertilizer or manure application.
- If already applied, wait at least 3–6 months before sampling.
- After lime application, wait 1–2 years for accurate pH readings.
Tip: The best time to sample is before sowing a new crop or right after harvest when the field is stable.
3️⃣ Ignoring Proper Sampling Depth
One of the most frequent mistakes: taking uneven or shallow samples.
🚫 Why It’s Wrong
Nutrients aren’t distributed evenly through the soil.
A shallow sample may overestimate fertility, while a deep one may dilute nutrient concentration.
✅ How to Avoid It
- Maintain consistent depth across all points in a plot.
- General guideline:
- Field crops: 0–15 cm
- Vegetables & tubers: 0–20 cm
- Orchards: 15–30 cm
- Field crops: 0–15 cm
- Mark your auger or spade for exact depth before collecting samples.
Pro Tip: Never mix samples taken from different depths — that defeats the purpose.
4️⃣ Mixing Different Soil Types Together
Many farmers combine soils that look or feel different just to save effort.
🚫 Why It’s Wrong
Each soil type (clay, loam, sandy) holds nutrients differently. Mixing them hides critical deficiencies or excesses.
✅ How to Avoid It
- Identify zones in your field by color, texture, and crop history.
- Collect separate samples from each zone and label them individually.
Example:
If one part of your field is dark clay and another is sandy, treat them as two different plots. Each will need a separate soil test and fertilizer plan.
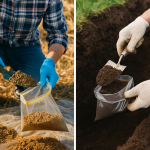
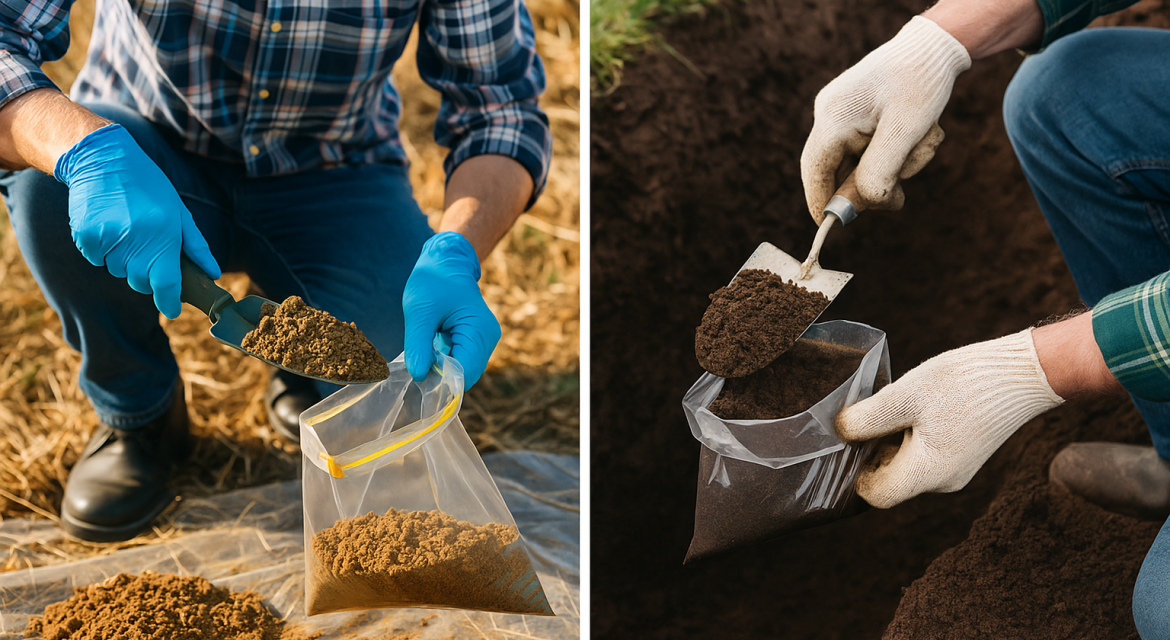
5️⃣ Using Contaminated Tools or Containers
Sometimes the sample is perfect — but the bucket isn’t. Farmers often use fertilizer bags, rusty spades, or oily buckets.
🚫 Why It’s Wrong
Residue of fertilizers, metal rust, or oil contaminates the soil, leading to false nutrient readings, especially for micronutrients like zinc and iron.
✅ How to Avoid It
- Use stainless steel or plastic tools only.
- Avoid fertilizer sacks or paint containers.
- Wash your tools with clean water and dry them before sampling.
Pro Tip: Use a separate clean plastic bucket for each field or plot.
6️⃣ Sampling From Problem Areas or Field Edges
A common habit is to collect samples near bunds, water channels, borewells, or shaded corners.
🚫 Why It’s Wrong
These spots don’t represent the overall field. They usually have higher salts or nutrients due to water accumulation or human activity.
✅ How to Avoid It
- Always sample from the central cultivated zone.
- Avoid 3–5 meters around bunds, trees, or irrigation channels.
- Skip manure piles, feeding areas, or tractor wheel tracks.
Tip: Think “average field,” not “extreme field” — sample where crops grow normally.
7️⃣ Poor Labeling and Record Keeping
Even good samples lose value if they get mixed up.
🚫 Why It’s Wrong
When you forget which bag came from which plot, the lab results become useless. Mislabeling leads to wrong fertilizer decisions.
✅ How to Avoid It
- Use a unique ID on each bag.
- Follow this format:
<FarmName>_<FarmerName>_<PrevCrop>_<NextCrop>_<MobileNumber>_<Village>
Example: GreenValley_RameshKumar_Wheat_Maize_9876543210_Bettahalli - Note sampling date, crop, and GPS coordinates in a notebook or app.
Pro Tip: Soil Doctor Clinics use geo-tagging so every soil report is linked to its exact field location.
8️⃣ Sending Wet or Sun-Dried Samples
Farmers sometimes send freshly dug wet soil or dry it in harsh sunlight to speed up the process.
🚫 Why It’s Wrong
Wet samples can ferment and alter pH; sun-drying kills soil microbes and changes organic carbon values.
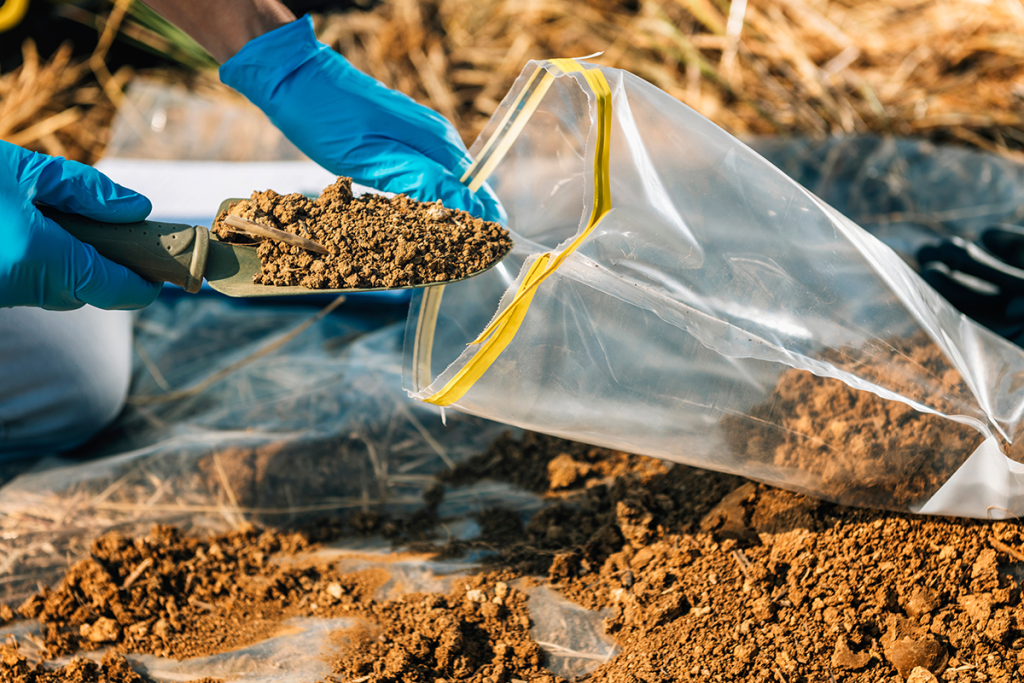
✅ How to Avoid It
- Spread soil on a clean plastic sheet in shade for 24 hours.
- Mix once dry and pack 200 g of soil in a clean zip-lock bag.
- Seal tightly and store in a cool, dry place before submitting.
Pro Tip: Never dry samples on fertilizer bags or near chemical storage.
🌿 Bonus: How to Make Soil Sampling Foolproof
To ensure every sample gives you real, reliable data:
- Follow a standard sampling SOP (available at SoilDoctor.in).
- Always sample before every new crop or once every 2–3 years.
- Use geo-tagging for traceability and precision.
- Partner with your nearest Soil Doctor Clinic for on-field assistance.
📋 Quick Farmer’s Checklist
| Step | Task | Done |
| 1 | Divide field into uniform zones | ☐ |
| 2 | Avoid edges and hotspots | ☐ |
| 3 | Collect 6–8 subsamples per plot | ☐ |
| 4 | Maintain same depth | ☐ |
| 5 | Use clean tools and containers | ☐ |
| 6 | Air-dry and mix uniformly | ☐ |
| 7 | Label clearly and geo-tag | ☐ |
| 8 | Deliver to Soil Doctor Clinic | ☐ |
🌍 How Soil Doctor Helps Farmers Sample the Right Way
At Soil Doctor, we believe soil testing doesn’t start in the lab — it starts in the field.
Our teams and Soil Didis guide farmers through:
- Field-level sampling training
- Geo-tagging and digital record keeping
- Data-backed fertilizer recommendations
- Region-specific soil health improvement programs
Farmers across Uttar Pradesh, Madhya Pradesh, and Gujarat who adopted correct sampling through Soil Doctor Clinics have seen 8–12% higher yield and better soil balance within one season.
📞 Get Professional Soil Sampling Support
Need help collecting accurate soil samples for your farm?
Contact our experts or visit your nearest Soil Doctor Clinic.
Ekosight AgriTech Pvt. Ltd.
📱 98862 22218 | 88842 22218 | 81500 85009
📧 hello@soildoctor.in | contact@ekosight.com
🌐 www.soildoctor.in | www.ekosight.com